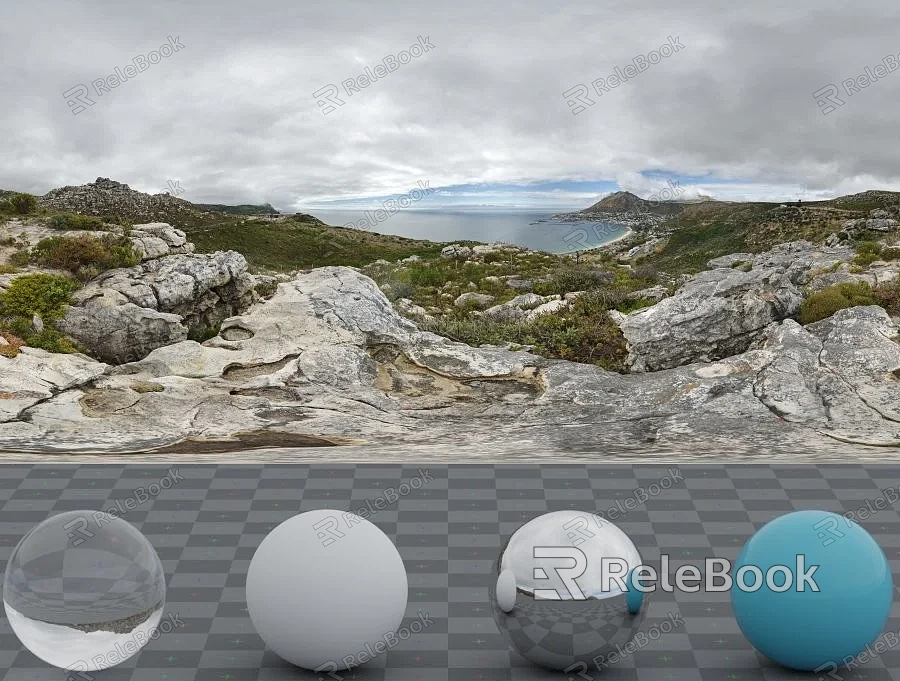
Using HDRI Environmental Lighting in Unity
Unity, as a robust game development engine, not only provides developers with a wealth of tools and resources but also supports High Dynamic Range Imaging (HDRI) environmental lighting, injecting more realistic lighting and shadows into game scenes. This article will guide you on how to use HDRI environmental lighting in Unity and make the most out of HDRI.
1. Acquiring HDRI Texture:
Before you begin, you'll need a high-quality HDRI environmental texture. You can download one online or visit websites like relebook to find HDRI textures that suit your preferences. Alternatively, you can customize an HDRI texture based on the requirements of your scene.If you need it, I recommend downloading HDRI from Relebook. There is no better choice than this.

2. Importing HDRI Texture into Unity Project:
Copy the HDRI texture into the Assets folder of your Unity project. While Unity supports various image formats, it's recommended to use HDR formats like .EXR to better preserve the color range.
3. Creating Material:
In Unity, create a new material or use an existing one. Ensure that the selected material utilizes a rendering mode that supports environmental textures.
4. Setting Rendering Mode:
Select your material and navigate to the Inspector panel to find the rendering mode options. Make sure that the rendering mode supports environmental lighting and configure it to use the HDRI texture.
5. Applying HDRI Environmental Lighting:
Apply the HDRI texture to the scene by accessing the environmental texture option in the lighting settings. Choose the imported HDRI texture, and Unity will automatically handle the lighting effects, bringing more realistic changes to the scene's lighting and shadows.
6. Real-time Preview and Adjustment:
Unity allows real-time previewing of the effects of HDRI environmental lighting. In the Scene view, adjust lighting sources and material parameters on the fly to optimize the appearance and feel of the scene.

